Point of Sale Custom Views
⏱︎ 2 minutes
Point of Sale Custom Views allow you to reorganize your Point of Sale tool, where you can sell from your administrator site, to your own custom layout.
Create a Custom Point of Sale View
1. Access the Point of Sale tool via the blue $.
2. Click CUSTOM VIEWS.
3. Click CREATE CUSTOM VIEW.
4. Give the view a TITLE.
5. Click the + in each box to select content for your custom view.
a. Use the TYPE dropdown or the SEARCH function to find what you would like to add.
b. Click the + Next to the content to add it to your custom view.
Only showing specific event dates or item options
Use the "Select Specific Date"/"Choose Option" dropdowns to check off what you would like to include prior to adding it.
6. Click ADD ROW if you need more content slots, and then repeat step 5 until you have selected what you would like in your View.

Note that events with multiple dates will take up an entire row in your custom view. All other selling options - events with a single date, packages, items, etc - will only take up 1/4 squares in a row.

Once you have selected everything you want to include, you can drag and drop via each item's image into your preferred order.
7. When you are happy with your layout, click SAVE.
8. And you're done! This Custom POS View is now available for use.
Premade Views
BookTix offers two premade views.
Standard BookTix View
Today's Events
Standard BookTix View
This is the original POS tool layout, showing everything that is confirmed and available to sell.
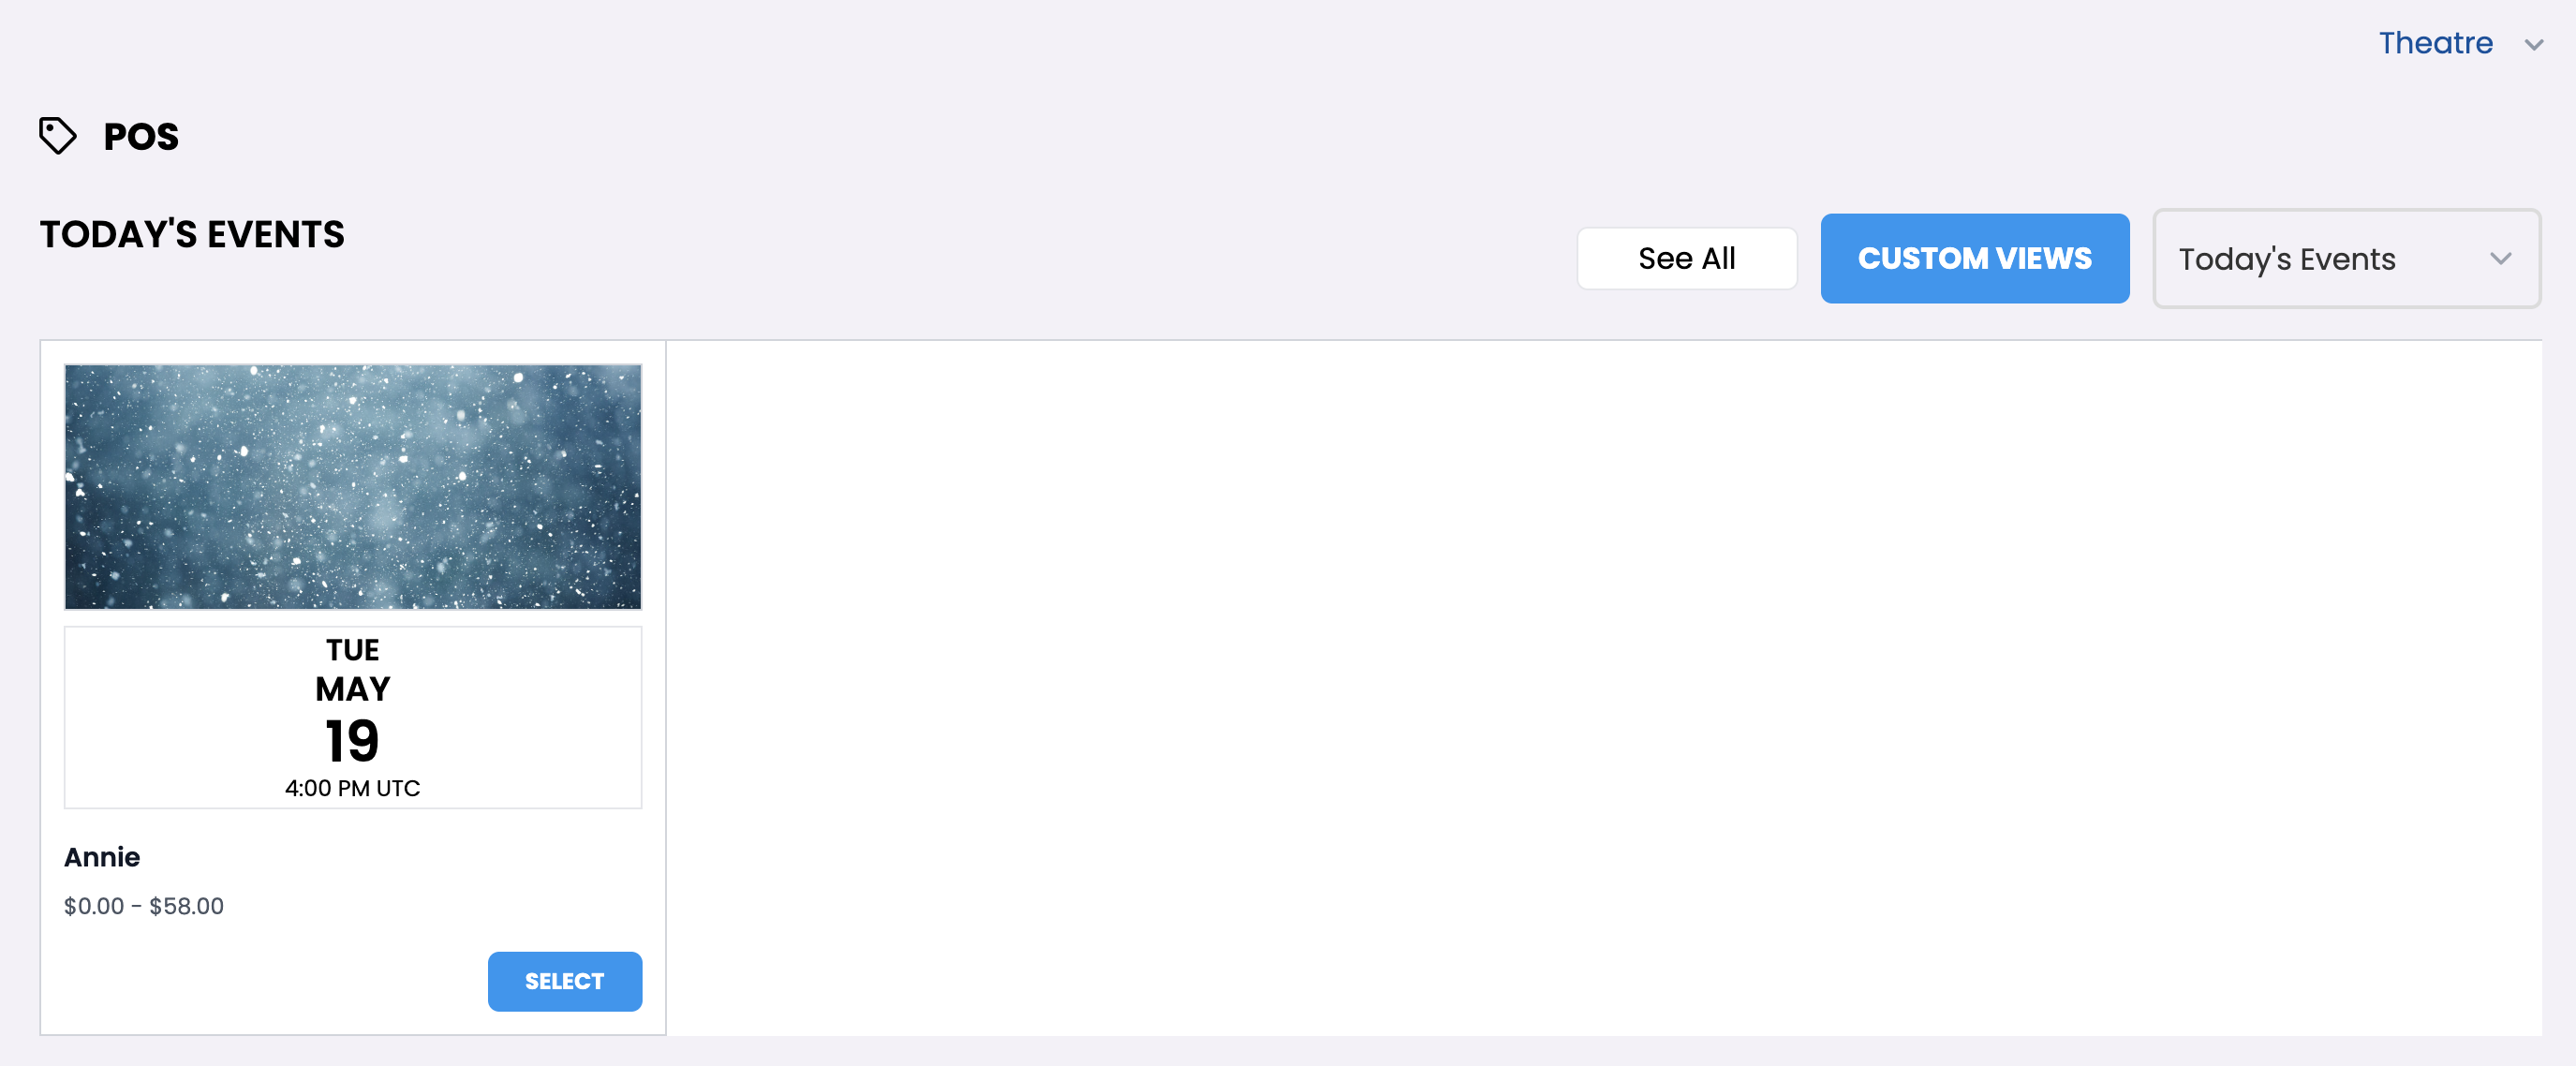
Today's Events
This view will automatically update everyday to only show the events happening that day.
Setting Default Views
Set your default POS view for your login account via the star. This means this is the view that will appear when you click into the POS tool.
You can always switch views via the dropdown while in the POS tool, if needed.
Using the Custom POS View
Your Custom POS View will function just as the standard BookTix view does - click SELECT, ADD TO CART, or the event date to be brought to your next relevant screen. On an item with options, use the dropdown to select the option first.
If there are no other decisions to be made while purchasing, you'll be brought to the shopping cart, or if you need to choose things like seats at the event or the directed donation items, you'll be brought to those respective pages.
Learn more about the POINT OF SALE tool here.
Related Articles
About the Point of Sale Tool
⏱︎ 30 seconds The Point of Sale (or POS) tool is used for ticket transactions that you, the box office administrator, process directly. For example, if you wanted to process comp tickets, do a cash transaction, or take a credit card when selling ...Processing a Transaction Using the Point of Sale Tool
⏱︎ 2 minutes The Point of Sale tool is how you can sell a ticket through the administrator portal. Processing a transaction here is very similar to the experience of the customer purchasing a ticket. 1. Log in and navigate to your department. 2. ...About the Asterisk Next to Options Within the Point of Sale Tool
⏱︎ 30 seconds The asterisk means this option is only available in the Point of Sale system - it is not available to the public for purchase. The way to control this setting is through the Public Status. If your item, package, event, donation ...Pre-printing Tickets to Sell at the Door
⏱︎ 30 seconds You are not able to print unassigned tickets because each seat has an assigned ticket. If you wish to pre-print tickets, you will need to use the Point of Sale tool to "book an order" of tickets, which you could then sell as cash.