Setting Up ePayments
⏱︎ 1 minute
In order to receive payment, you can choose from a Check, an Epayment, or a Direct Deposit via Stripe. For information on other options, view this tutorial.

Electronic payment is not direct deposit; e-payments should reach your account in a couple of business days following the closing of your event. This option is currently available for US accounts only.
1. Log in and navigate to the Organization Dashboard via the gear on the top right.

Only organization administrators can access this page.
2. Under the Financial Management header, click the expander next to Balances and Payments and click PAYMENT SYSTEM OPTIONS.
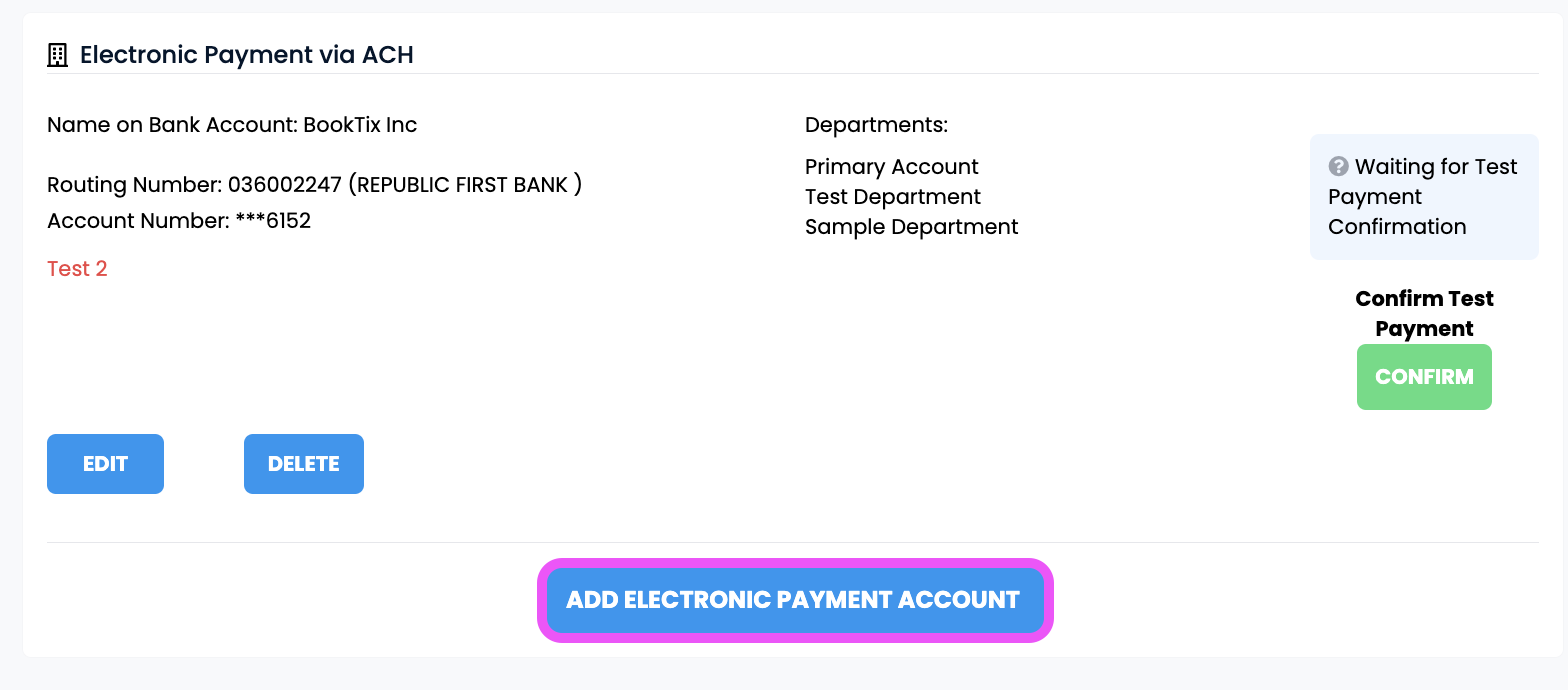
3. Under the Electronic Payment via ACH header, click ADD ELECTRONIC PAYMENT ACCOUNT.
4. Add Your Bank Account.
a. Enter your Bank Account Type (Business Checking, Business Savings, Personal Checking or Personal Savings)
b. Enter your Routing and Account numbers
c. Notes (optional): enter any special instructions for our accounting team (i.e. Sample Note: "Please use this payment account for all donation campaign payouts").
d. Select which Department(s) in your BookTix account will have access to this payment account.
e. Confirm permission and accuracy of information
5. click ADD to add your account.
6. Check Your Bank Account for Test Deposit.

A small deposit of a few cents will be deposited into your account as a test payment to ensure that the account has been properly setup within our system. You should see our test deposit in your account within 2-3 business days.
7. Confirm Account Deposit.
a. Log back into BookTix and navigate to PAYMENT SYSTEM OPTIONS page.
b. Click CONFIRM.
You can now receive e-payments!
Related Articles
Payout Options
⏱︎ 30 seconds BookTix currently offers three payout options for US clients: 1. Check Payment by Mail Check Payment by Mail will send you a paper check that can then be deposited to a bank account or cashed. 2. Electronic Payment via ACH* Electronic ...Seeing your Payments
⏱︎ 30 seconds Payments are by department, not organization. Below find steps to view department payments done by Check or ACH Epayments. If you are receiving payment via Stripe Direct Deposit, you will need to log in to your Stripe account to view ...Setting Up Check Payments
⏱︎ 1 minute In order to receive payment, you can choose from a Check, an Epayment, or a Direct Deposit via Stripe. For information on other options, view this tutorial. 1. Log in and navigate to the Organization Dashboard via the gear on the top ...Setting Up Direct Deposit via Stripe Connect
⏱︎ 4 minutes Stripe Connect is a direct deposit payout option that allows you to opt for daily, weekly, or monthly deposits directly to your Stripe account, setup through your BookTix account. If you require your payouts to be specific (i.e. ...Requesting Payment Prior to Event Closing
⏱︎ 30 seconds We offer advanced payouts by request. This can be sent prior to your event closing, and 20% of your balance will be reserved for any refunds/charges that may be needed. We are happy to send one early payout, and any additional early ...